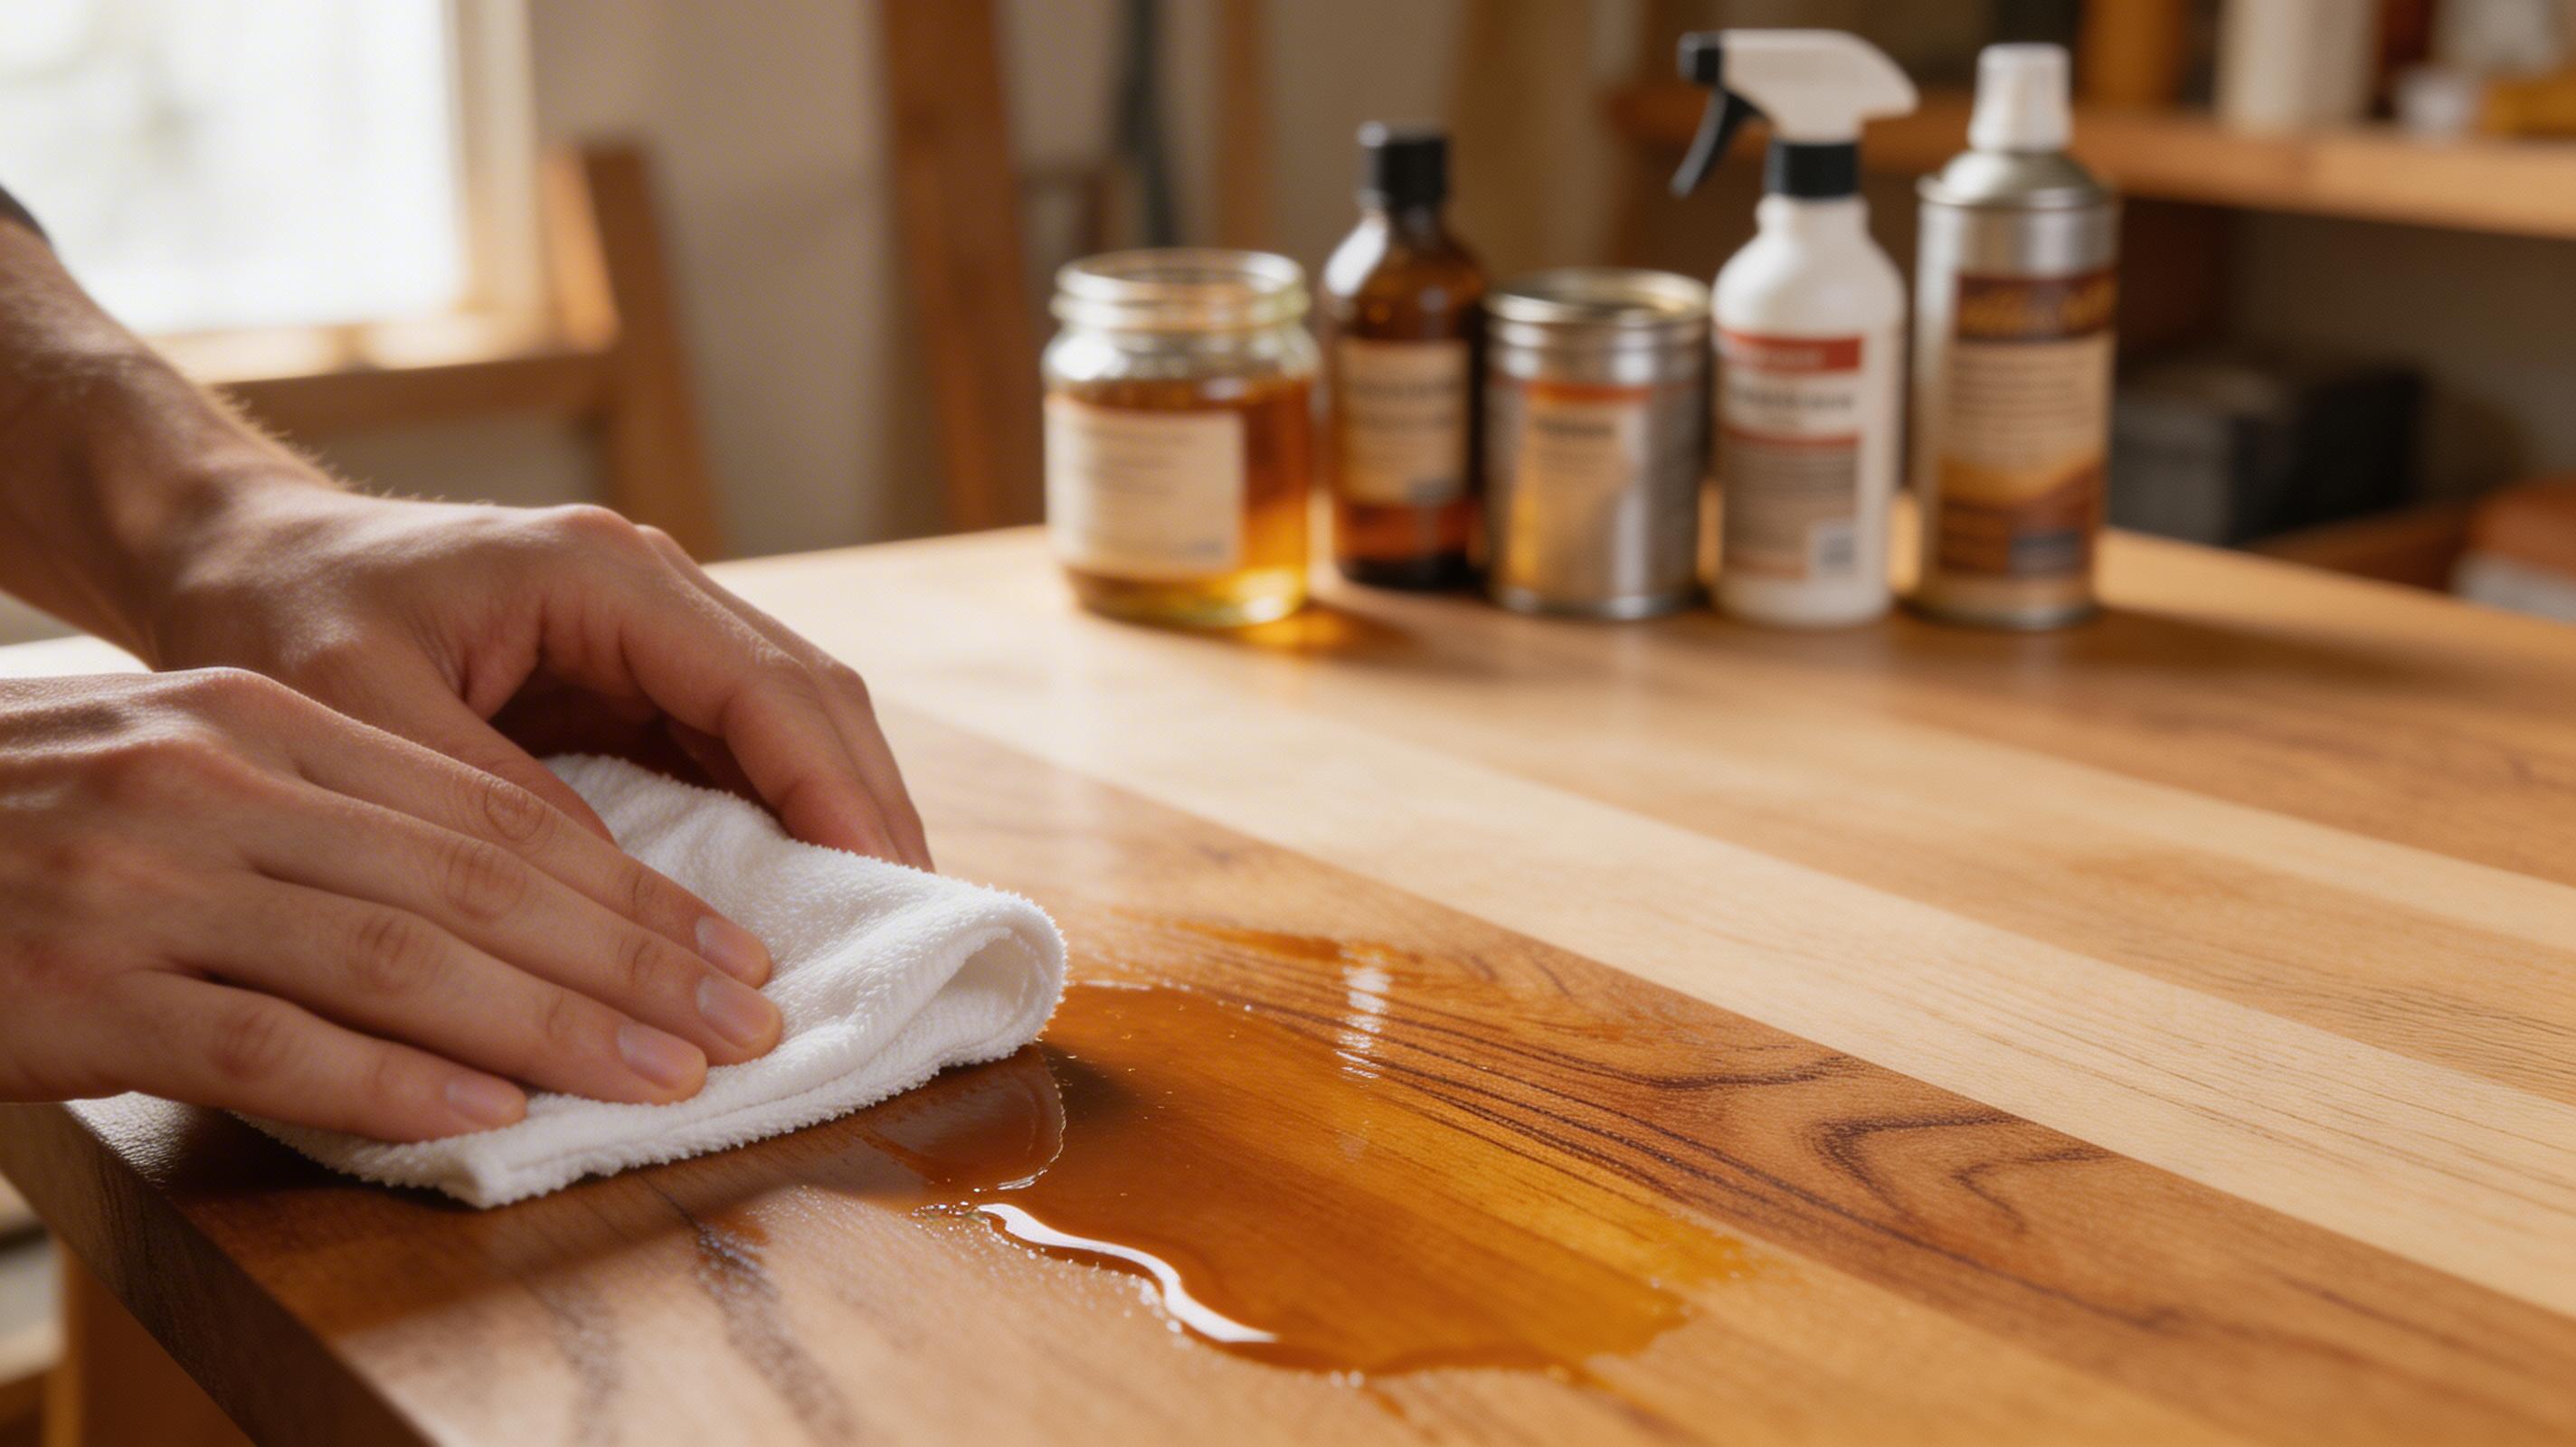
Why Finishing Makes or Breaks a Project
You can spend 20 hours building a beautiful piece of furniture and ruin it with a poor finishing job in 20 minutes. You can also take an average piece of work and make it look exceptional with the right finish, properly applied. Finishing is the most underrated skill in woodworking — and the one most beginners rush.
The good news: finishing is not complicated. It requires patience, preparation and choosing the right product for the timber and application. This guide covers every common finish type and when to use each one.
The Golden Rule — Preparation is Everything
No finish will hide poor surface preparation. Sand through the grits progressively: 80 grit to remove mill marks and rough spots, 120 grit to refine, 180 or 240 grit to finish. Never skip grits — jumping from 80 to 240 leaves 80-grit scratches that show clearly under any oil or varnish.
Between grits, wipe the surface with a damp cloth and allow to dry completely. This raises the grain (causes tiny fibres to stand up) — sand these down with the next grit and the subsequent coats of finish will go on much smoother.
💡 Always apply a test coat of your chosen finish to an offcut of the same timber before touching the actual piece. Different timber species react differently to the same product. What works beautifully on oak might look terrible on pine.
Ready to put this into practice?
Browse 16,000 step-by-step woodworking plans — every project comes with a full cut list, materials list and diagrams. No guesswork.
Browse Project Plans → Affiliate link — small commission if you purchase, no extra cost to youChoosing the Right Finish
| Finish Type | Penetrating or Film? | Durability | Best For | Repairable? |
|---|---|---|---|---|
| Danish/Tung Oil | Penetrating | Low-Medium | Furniture, turning, natural feel | Yes — spot repair |
| Hardwax Oil | Penetrating + micro film | High | Dining tables, floors, worktops | Yes — spot repair |
| Deck Oil | Penetrating | Medium (outdoors) | Decks, garden furniture | Yes |
| NC Lacquer | Film forming | Medium-High | Cabinetry, instruments | Yes — redissolves |
| 2K Lacquer | Film forming | Very High | Kitchen cabinetry | Difficult |
| Polyurethane | Film forming | Very High | Floors, worktops | Difficult |
| Shellac | Film forming | Low (not waterproof) | Sealer coat, antiques, knot primer | Yes |
| Exterior Paint | Film forming | High | Exterior timber, painted furniture | Yes — repaint |
Step-by-Step: Applying an Oil Finish
- Sand to 240 grit
Work through 80, 120, 180, 240. Wipe between each grit with a damp cloth. Allow to dry.
- Remove all dust
Vacuum, then wipe with a tack cloth or slightly damp lint-free rag. Any dust left on the surface will be trapped under the finish.
- Apply first coat — generously
Apply with a lint-free cloth, working with the grain. Allow to soak in for 15–20 minutes.
- Wipe off excess
Remove all oil sitting on the surface — if left it will dry into a sticky, uneven film. A thin coat that's wiped off is better than a thick coat that isn't.
- Allow to cure
24 hours minimum between coats. 48 hours for oils in cold conditions.
- Denib and apply second coat
Lightly sand with 320 grit to remove any nibs (small dust particles). Wipe clean. Apply second coat as above.
- Apply third coat and buff
Third coat, allow to cure fully (48–72 hours), then buff lightly with a clean cloth. Done.
⚠ Oily rags are a fire hazard. Linseed oil in particular generates heat as it cures. Lay used rags flat to dry outdoors, or submerge in water in a metal container before disposal. Never pile them up — they can self-ignite.
Common Finishing Mistakes
- Applying too thick a coat — thin, even coats always outperform thick ones. Thick oil sits on the surface and doesn't cure properly.
- Not allowing sufficient curing time — a finish that feels dry to the touch may not be fully cured. Follow manufacturer's times.
- Applying oil over a cured varnish or lacquer — it cannot penetrate. Strip first or use a compatible topcoat.
- Skipping the grain raising step — applying a damp cloth before the final sanding gives a noticeably smoother result.
Need something to build?
16,000 step-by-step woodworking plans — furniture, garden builds, sheds, storage and more. Every plan includes a cut list, materials list and full diagrams.
Browse All Project Plans → Affiliate link — we may earn a small commission if you purchase, at no extra cost to you