So You Want to Start Woodworking
Every experienced woodworker started exactly where you are now — no skills, no workshop, probably a bit intimidated by the whole thing. The good news is that woodworking is one of those crafts where you can produce genuinely useful, beautiful things from your very first project. You just need to start in the right place.
The biggest mistake beginners make is buying too many tools too soon, or attempting too complex a project before they've developed basic skills. This guide strips it back to what actually matters in the first six months.
The Only Tools You Actually Need to Start
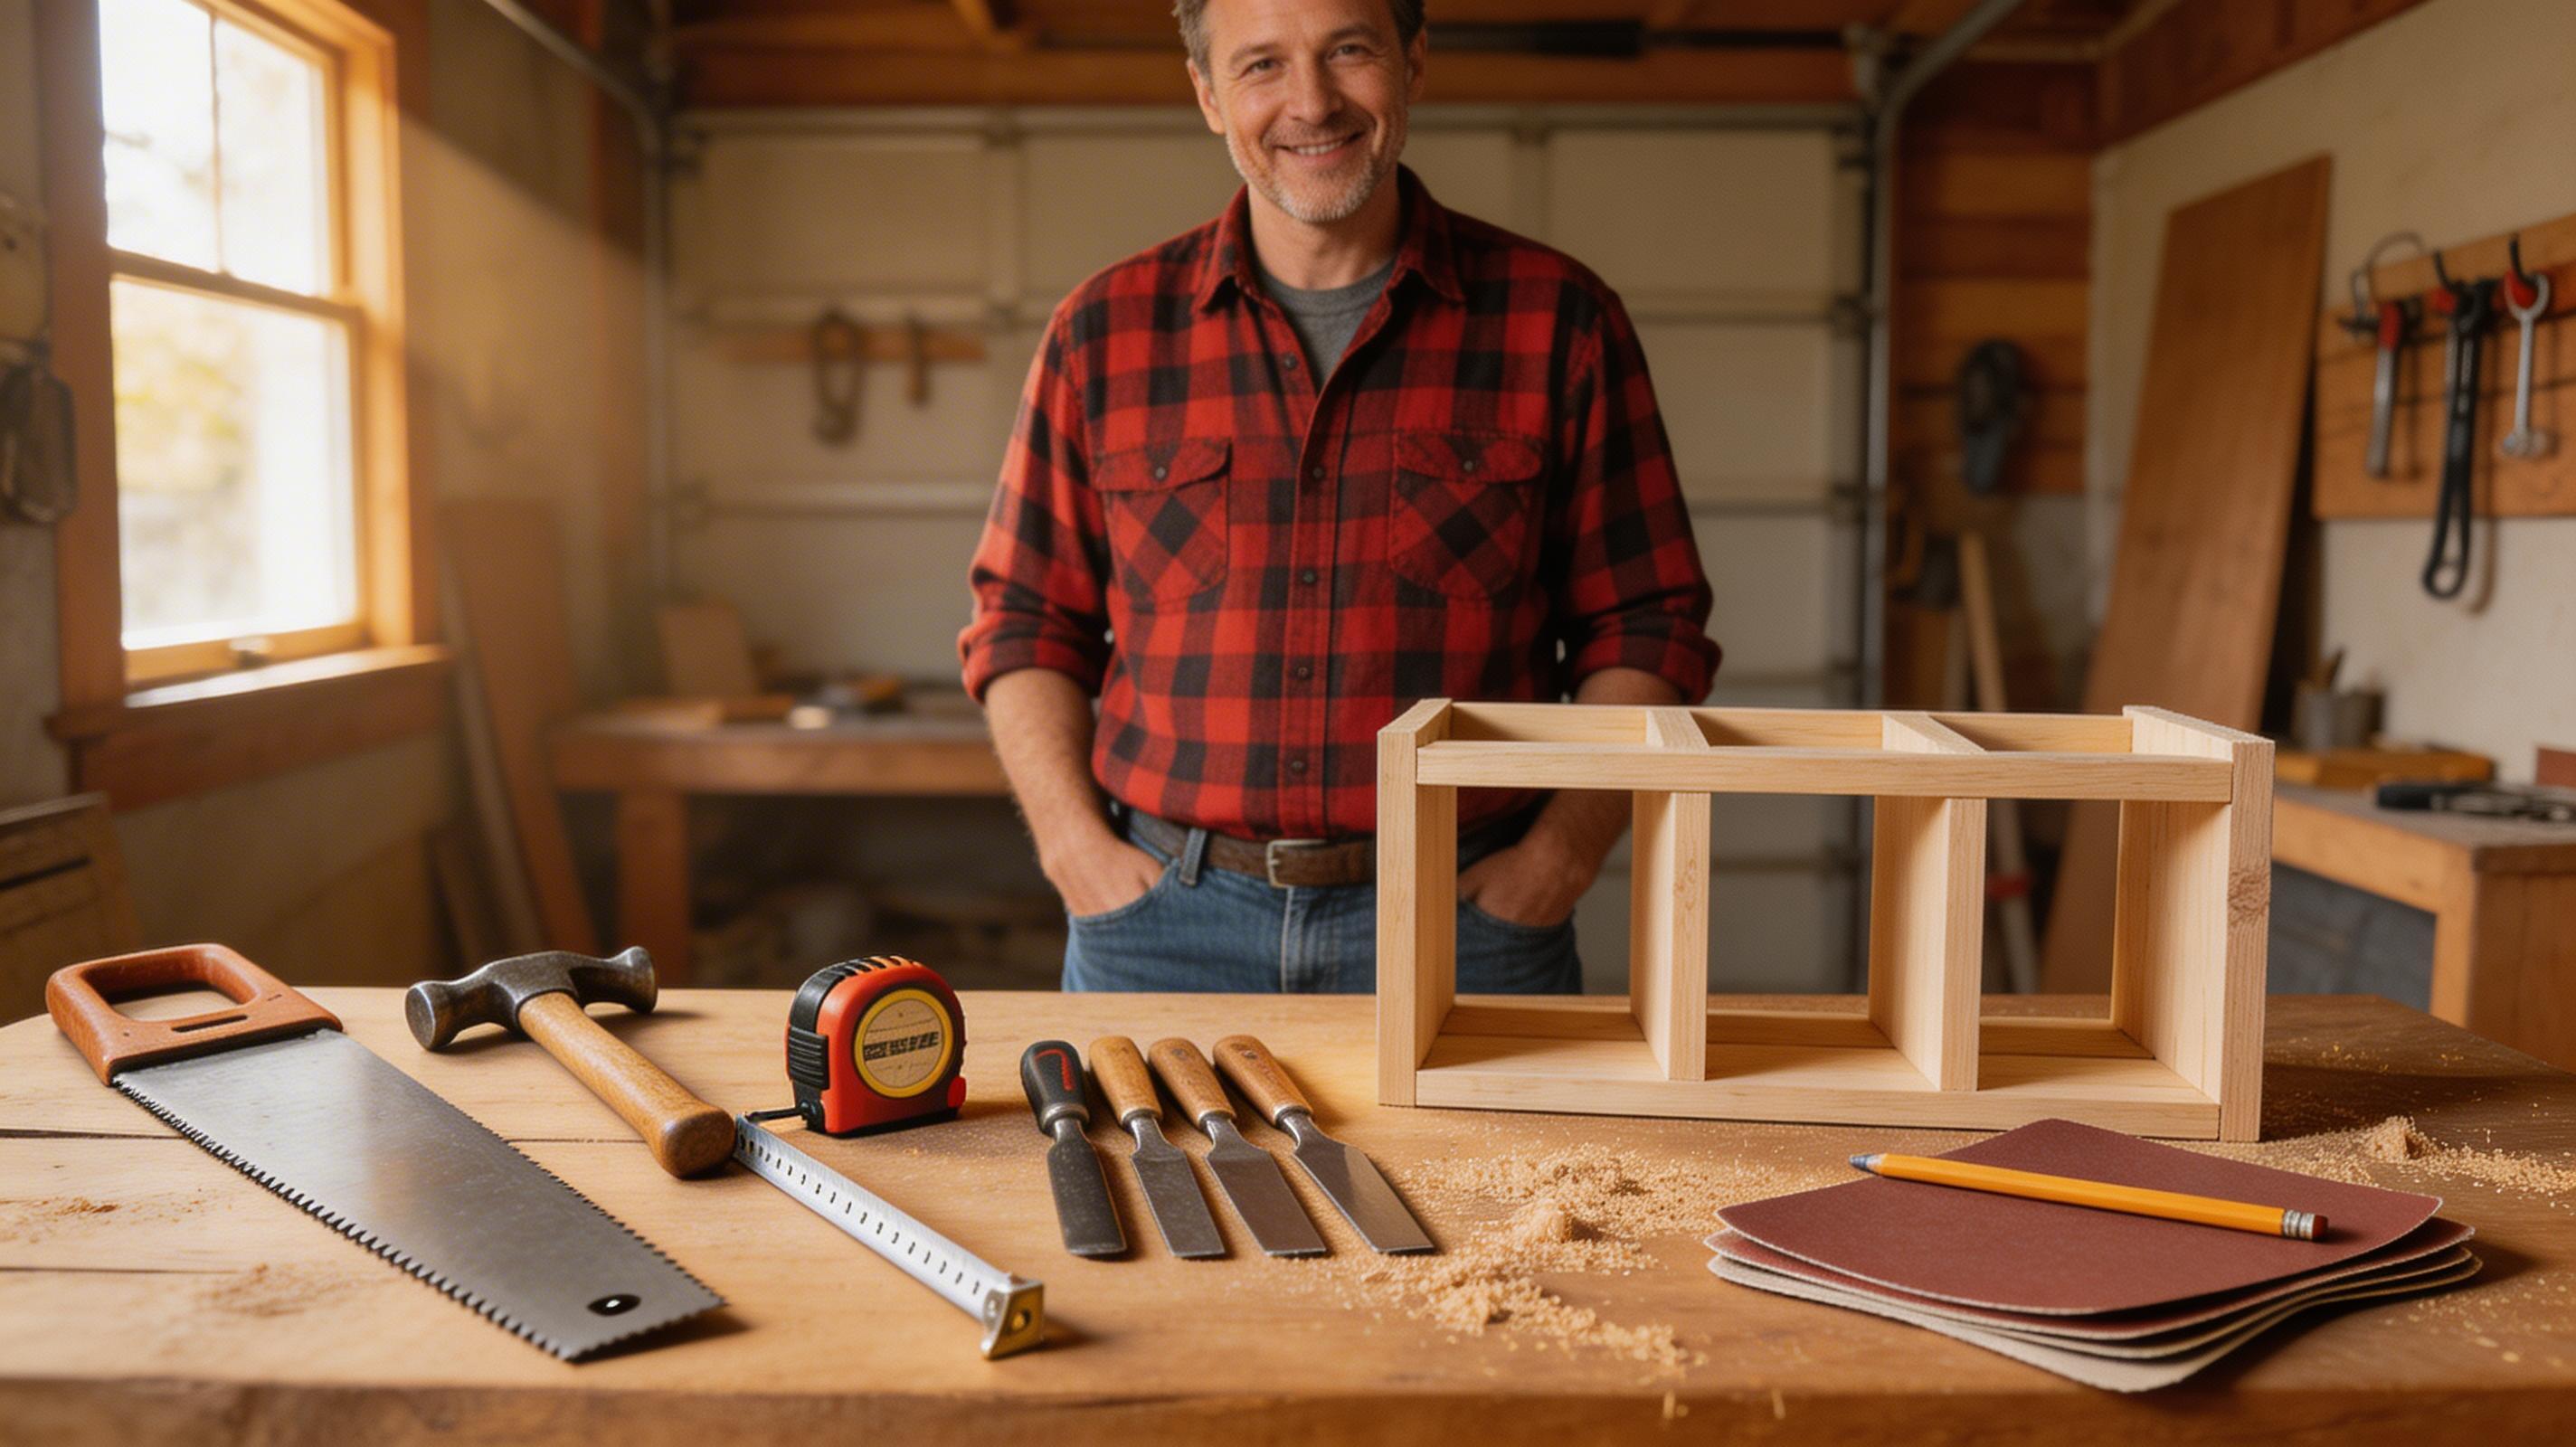
You do not need a full workshop to begin. These seven tools will get you through 90% of beginner projects:
- Tape measure — 5 metre minimum. The single most used tool in any workshop.
- Combination square — for marking right angles and checking flatness. Buy a decent one; cheap squares are inaccurate.
- Hand saw — a good quality panel saw or tenon saw. Learn to use it properly before reaching for power tools.
- Hammer and nail punch — for assembly work. A 450g (16oz) claw hammer is ideal.
- Chisels (set of 4) — 6mm, 12mm, 19mm and 25mm. Keep them sharp; a sharp chisel is safer than a blunt one.
- Cordless drill/driver — for drilling and driving screws. One of your first power tool purchases.
- Sandpaper (assorted) — 80, 120 and 240 grit. You'll use more than you expect.
💡 Buy quality over quantity. One good chisel will outperform five cheap ones every time. Cheap tools are often inaccurate, blunt quickly, and make learning harder. Brands like Stanley, Irwin and Bahco offer good quality at sensible prices.
Your First Three Projects — In Order
- A simple shelf — basic cuts, drilling, wall mounting. Teaches measuring, squareness and fixing to a wall. Instantly useful in your home.
- A storage box or crate — introduces butt joints, gluing, clamping and sanding. No complex joinery required.
- A small garden planter or bench — introduces working with outdoor timber (use cedar or treated pine), larger dimensions and simple structural thinking.
Each of these builds on the last. By project three you'll have hands that know what they're doing, and the confidence to attempt almost anything.
Ready to put this into practice?
Browse 16,000 step-by-step woodworking plans — every project comes with a full cut list, materials list and diagrams. No guesswork.
Browse Project Plans → Affiliate link — small commission if you purchase, no extra cost to youChoosing Your First Timber
For painted projects, use pine — it's cheap, widely available, easy to cut and forgiving of mistakes. For stained or natural-finish projects, step up to oak or ash. Both take a finish beautifully and aren't as expensive as walnut or cherry.
Avoid hardwoods for your very first project. Not because they're too hard — walnut actually works beautifully with hand tools — but because they're expensive, and early projects will have mistakes. Learn on pine, move to hardwoods when your cuts are clean.
The Skills That Matter Most
In order of importance for a beginner:
- Measuring accurately — "measure twice, cut once" is the oldest woodworking cliché because it's absolutely true.
- Cutting straight — most beginners' cuts wander. Clamp a guide fence, go slowly, let the saw do the work.
- Sanding progressively — start with 80 grit to remove marks, move through 120, finish with 180 or 240. Never skip grits.
- Choosing the right fixing — screws for structural work, nails for cladding, glue for joints. Each has its place.
- Finishing — the difference between a project that looks homemade and one that looks professional is almost always the finish. Take your time here.
⚠ The most common beginner injury is from chisels — always cut away from your body, keep both hands behind the cutting edge, and keep chisels sharp. A blunt chisel requires more force and is far more likely to slip.
How Long Does It Take to Get Good?
After 10 hours of actual practice — real sawing, chiselling, sanding — your hands start to develop instincts. After 50 hours, you'll be making things you're genuinely proud of. After 200 hours, people will ask if you're a professional. None of this requires formal training — just projects, one after another, learning as you go.
The woodworkers who improve fastest aren't the ones who read the most. They're the ones who get into the workshop and start cutting timber.
Need something to build?
16,000 step-by-step woodworking plans — furniture, garden builds, sheds, storage and more. Every plan includes a cut list, materials list and full diagrams.
Browse All Project Plans → Affiliate link — we may earn a small commission if you purchase, at no extra cost to you