You Don't Need a Big Space to Start
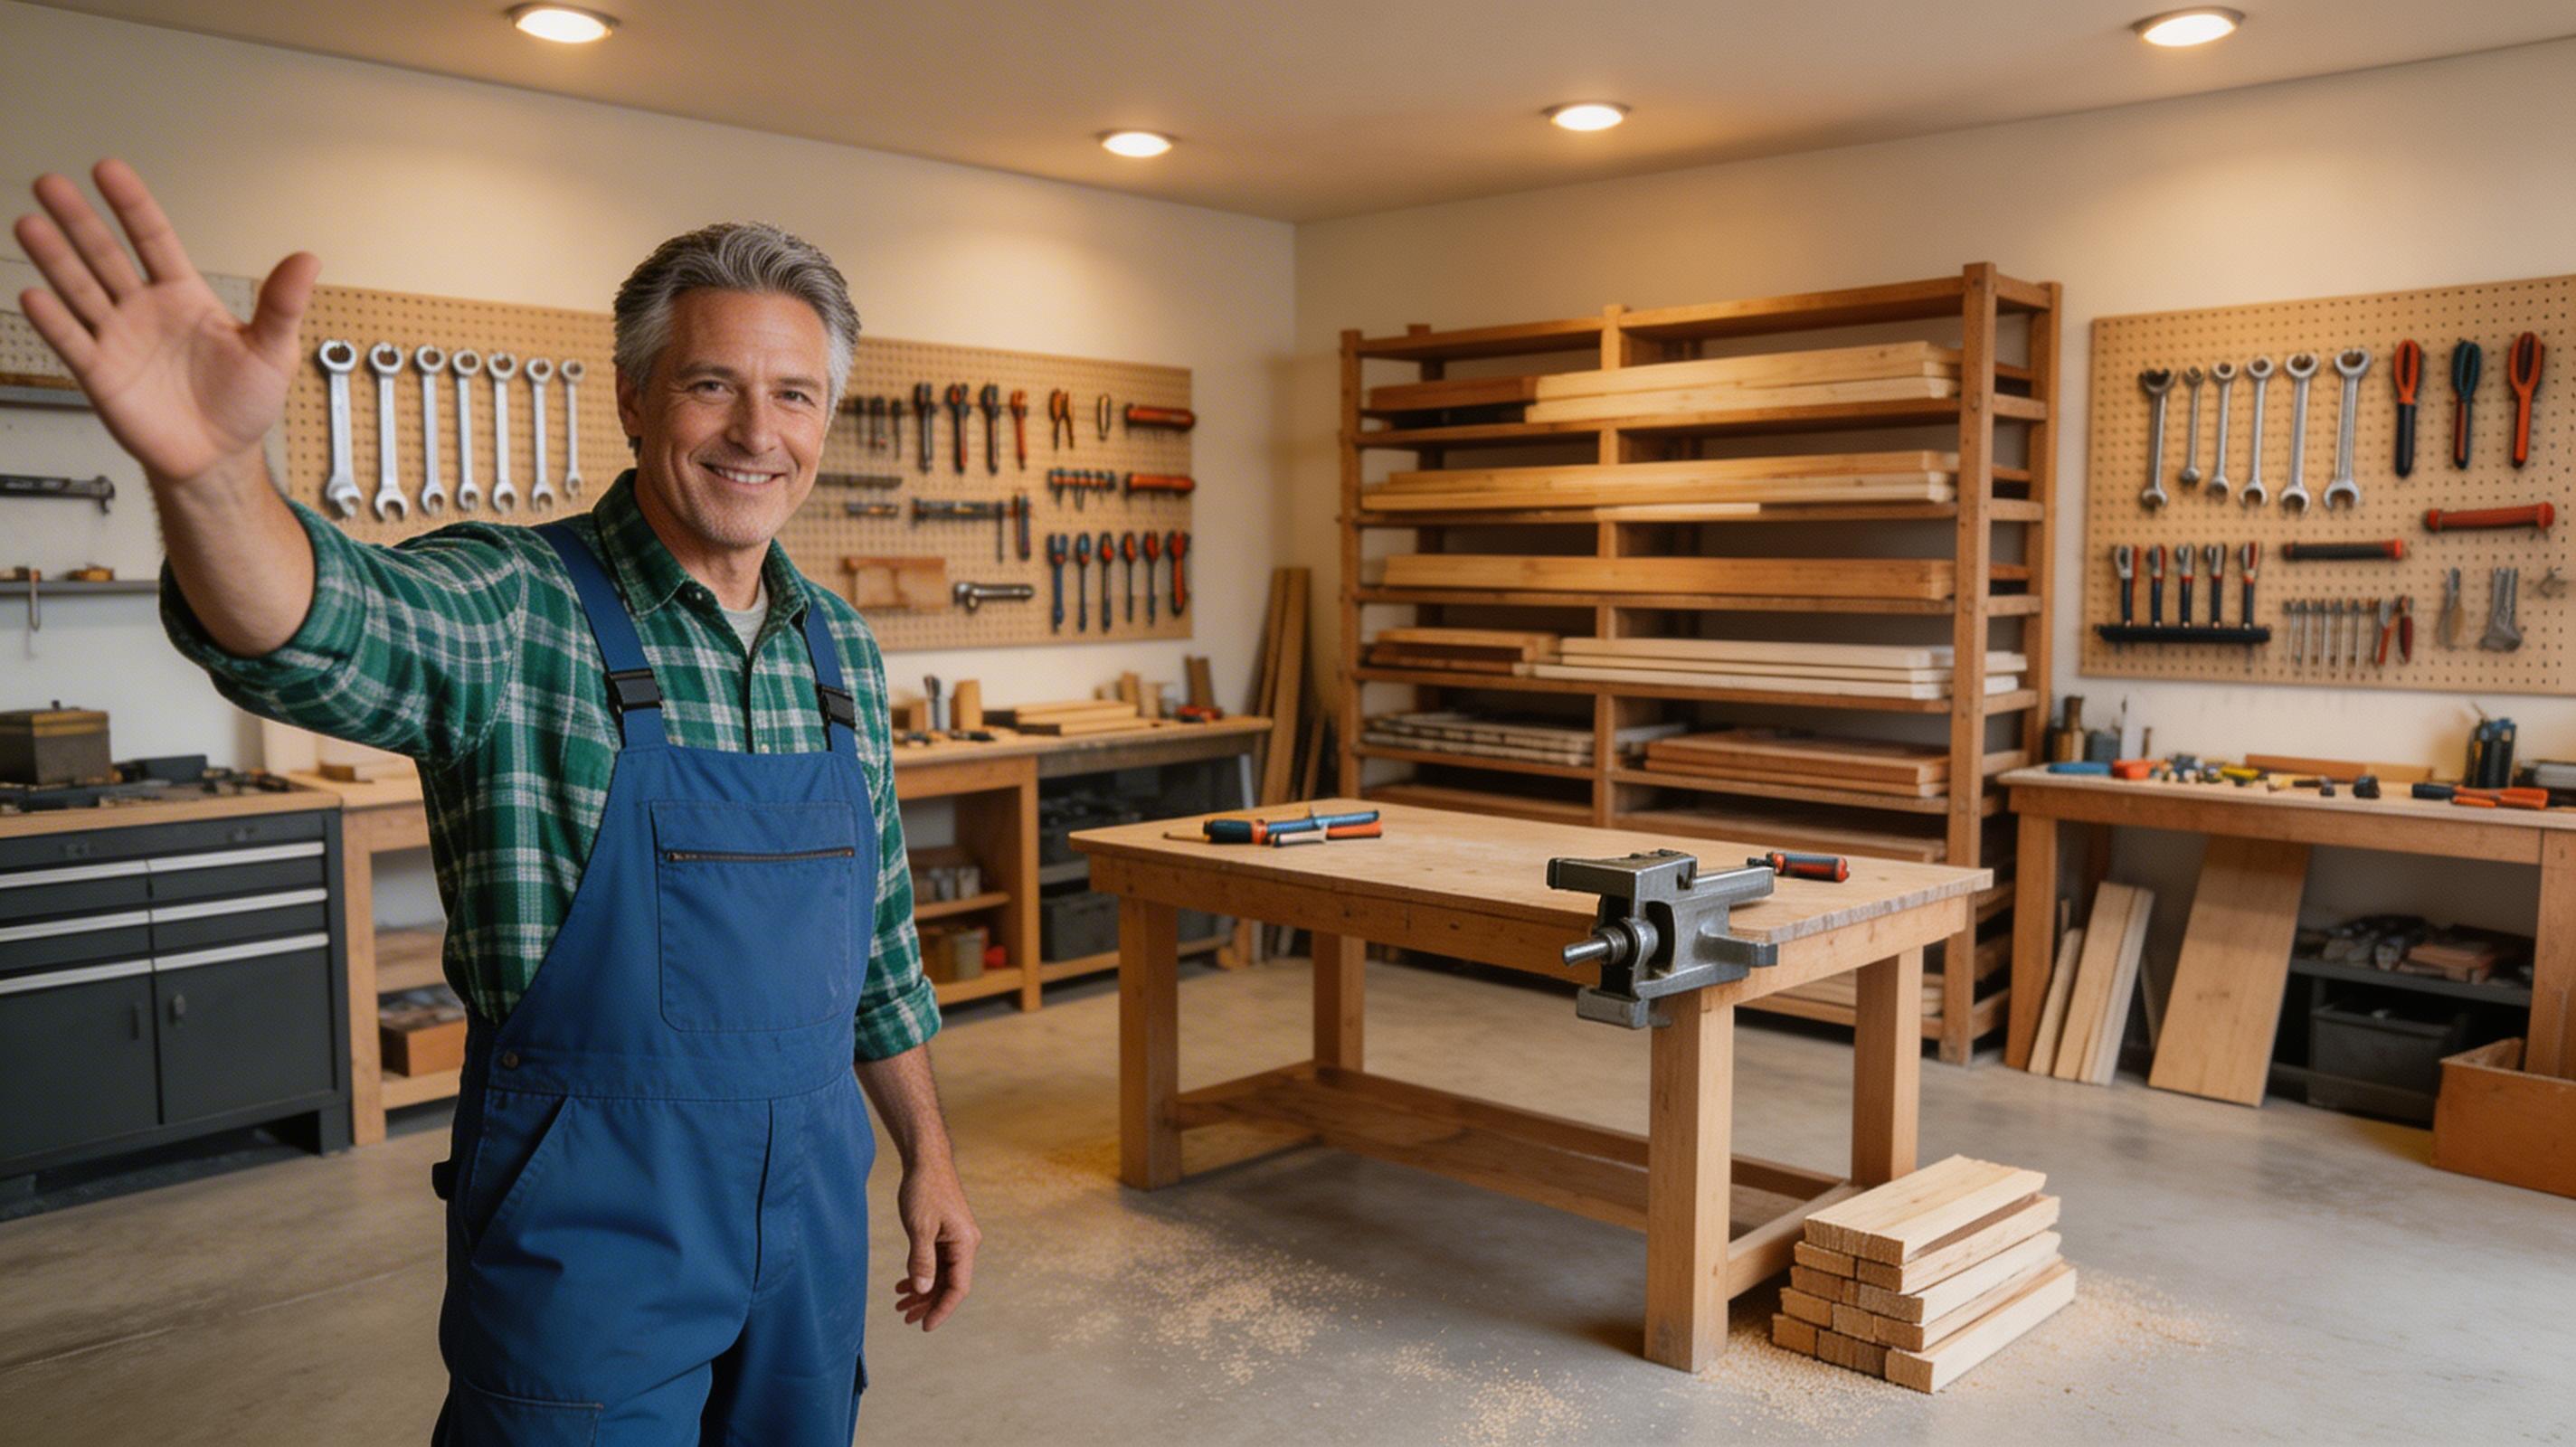
One of the most common reasons people put off woodworking is that they think they need a large dedicated workshop before they can begin. They don't. Some of the finest furniture in history was made in workshops smaller than a modern bathroom. What you need is a good workbench, decent lighting, and a logical layout for your tools.
This guide covers how to set up a functional workshop in a single garage bay, a garden shed, or even a corner of a utility room — and how to grow it over time as your skills and tool collection develop.
The Workbench — Your Most Important Piece of Equipment
A solid, stable workbench is the foundation of everything. A workbench that flexes or moves when you plane across it is worse than useless. Key requirements:
- Height — approximately wrist height when standing upright. Too low causes back strain; too high reduces leverage.
- Stability — the bench must not rack or move under load. Heavier is better. A jointed frame is stronger than a screwed one.
- Surface — hardwood or hardwood plywood. A sacrificial MDF top that can be replaced is common in production workshops.
- Vise — a face vise (front-mounted) is essential. A tail vise adds versatility but isn't critical to start.
- Dog holes — rows of holes for bench dogs (stops) that allow workpieces to be held flat on the bench surface without a vise.
💡 Building your own workbench is an excellent first major project. A basic but very functional bench can be built from construction pine in a weekend for around £150–£200 in materials. The process teaches fundamental joinery and gives you something you'll use for decades.
Ready to put this into practice?
Browse 16,000 step-by-step woodworking plans — every project comes with a full cut list, materials list and diagrams. No guesswork.
Browse Project Plans → Affiliate link — small commission if you purchase, no extra cost to youLighting — Often Overlooked, Critically Important
Poor workshop lighting causes errors and is a safety hazard. You need to see clearly what you're cutting, what the grain is doing, and whether a surface is truly flat. Requirements:
- General overhead lighting — LED strip lights or fluorescent tubes. Aim for at least 500 lux throughout the space.
- Task lighting — a directional light above the main workbench that can be adjusted to rake across surfaces at a low angle (revealing any unevenness).
- No shadows over the workbench — position lights so you're not working in your own shadow.
Tool Storage and Organisation
The best workshop system is the one where every tool has a home and goes back to it after use. This sounds obvious but it genuinely transforms workshop efficiency and safety — no hunting for tools, no stepping on chisels, no damaged edges from loose tools rattling together.
- Pegboard wall — the classic solution. Cheap, flexible, and puts every tool in plain sight. Trace around each tool in marker so you can see at a glance what's missing.
- French cleats — a system of angled timber strips on the wall that accept custom holders. Incredibly flexible and satisfying to build and organise.
- Timber storage — a dedicated rack that stores boards flat or at a slight angle, accessible without moving other pieces. Timber stored badly gets warped.
- Finishing station — a separate area away from sawdust for applying finishes. Sawdust and wet finish are a terrible combination.
Dust and Ventilation
Woodworking dust is a genuine health hazard, particularly fine dust from MDF and from power sanding. Invest in:
- Dust extractor — connected to power tools where possible. A shop vacuum with a HEPA filter is a minimum.
- Dust mask (P2 or P3 rating) — not a paper particle mask. A proper half-face respirator with replaceable filters for MDF and finish work.
- Ventilation — open doors and windows when sanding. A simple box fan exhausting to outside dramatically reduces airborne dust.
⚠ MDF dust is particularly hazardous — it contains fine wood fibres plus formaldehyde-based resin binders. Always wear a P2 respirator when cutting or sanding MDF, and ensure good ventilation.
Need something to build?
16,000 step-by-step woodworking plans — furniture, garden builds, sheds, storage and more. Every plan includes a cut list, materials list and full diagrams.
Browse All Project Plans → Affiliate link — we may earn a small commission if you purchase, at no extra cost to you